| Color Matching Table | |
|---|---|
|
The Color Matching Table attempts to simulate spot colors by sharing color information between your graphics program and RIP-Queue. Using the [Color Matching Table] helps ensure accurate color.
For example, if you created an image with specific color names for specific colors and saved the file as a PDF with the new colors and names stored in the PDF file, you could then use the Color Matching Table to help match those colors in RIP-Queue. By using the Color Matching Table, the colors you specified by name will be mapped directly to the colors that should be printed.
NOTE: If the color you are trying to create is outside of the printer's gamut you will probably not be able to match it perfectly.
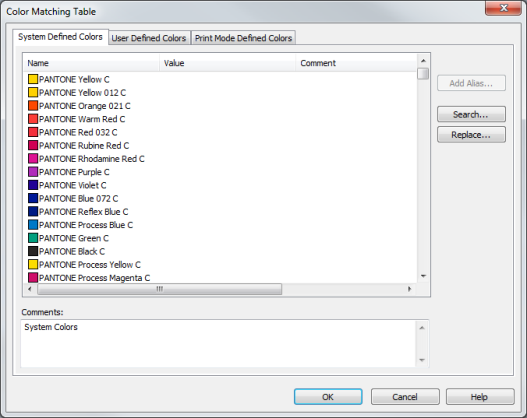
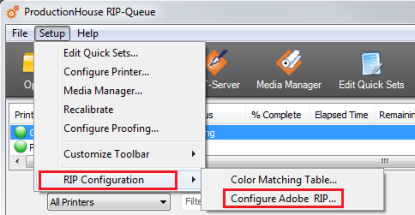
To open the [Color Matching Table] (Figure 1), select Setup >RIP Configuration > Color Matching Table.
The "Color Matching Table" only works with PostScript/PDF files. It allows you to use the name of the color, instead of the CMYK equivalent, to communicate color meaning.
NOTE: The names specified in the Color Matching Table must match the names of the colors used in the PostScript/PDF file. If RIP-Queue doesn't find a name used in the PostScript/PDF file, it uses the CMYK equivalent.
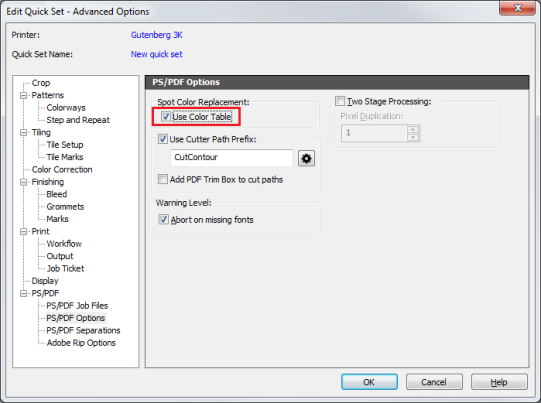
In order to use the Color Matching Table option, you must have the following:
There are PostScript/PDF files that may be useful for testing purposes. These files are in the "onyx/Samples/Pantone" folder. These files correspond to Coated and Uncoated colors and can be used in conjunction with properly named spot colors.
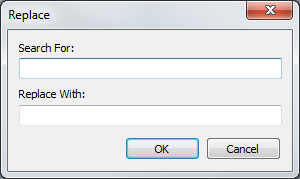
TIP: After ripping your PostScript/PDF file, look at the contents of the RIP Log. This log will contain a list of any named colors in the PostScript/PDF file that do not have a suitable match within RIP-Queue. Once you have a list of named colors without suitable matches, you can use the Replace button in the Color Matching Table to modify the names or use the Add Alias option to add the suitable names. The Replace button is the quickest alternative.
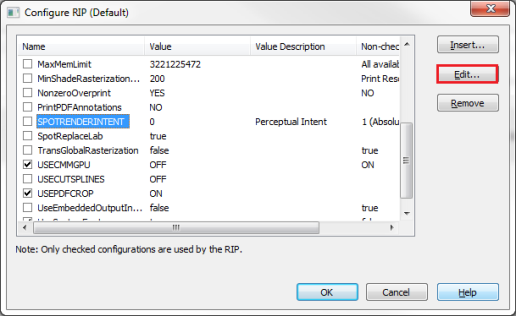
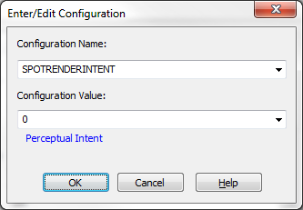
The[ Input ICC profile] is not used if you activate the "Color Matching Table" option. It always uses the default printer profile for the "Color Matching Table". The [Rendering Intent] is specified by selecting Edit Quick Set > Edit > Change Profile and click [Rendering Intent] tab.
To set the Rendering Intent:
The [System Defined Colors] tab lets you manage colors that are defined by RIP-Queue. For more information, see System Defined Colors.
The [User Defined Colors] tab lets you manage colors that you define. For more information, see User Defined Colors.
The [Print Mode Defined Colors] tab has the ability to add custom spot colors using [User Defined Colors]. This tool also provides another way to add custom spot colors or replace existing spot colors, based on a selected print mode. For more information, see Print Mode Defined Colors. |
Figure 1
Figure 2
Figure 3
Figure 4
Figure 5
Figure 6
|
